
Tread Installation
Due to the Tread Series' Android-based operating system, this process must be done on a Windows computer.
The device will not connect to a Mac in the proper manner for file transfer. If you are a Mac user, you can install the maps to a microSD card instead, then insert the card into the device. Be sure to follow the steps to configure the settings below after you install the maps via the computer or microSD card.
First, follow the directions in this video to download the maps to the Windows computer: Windows Installation
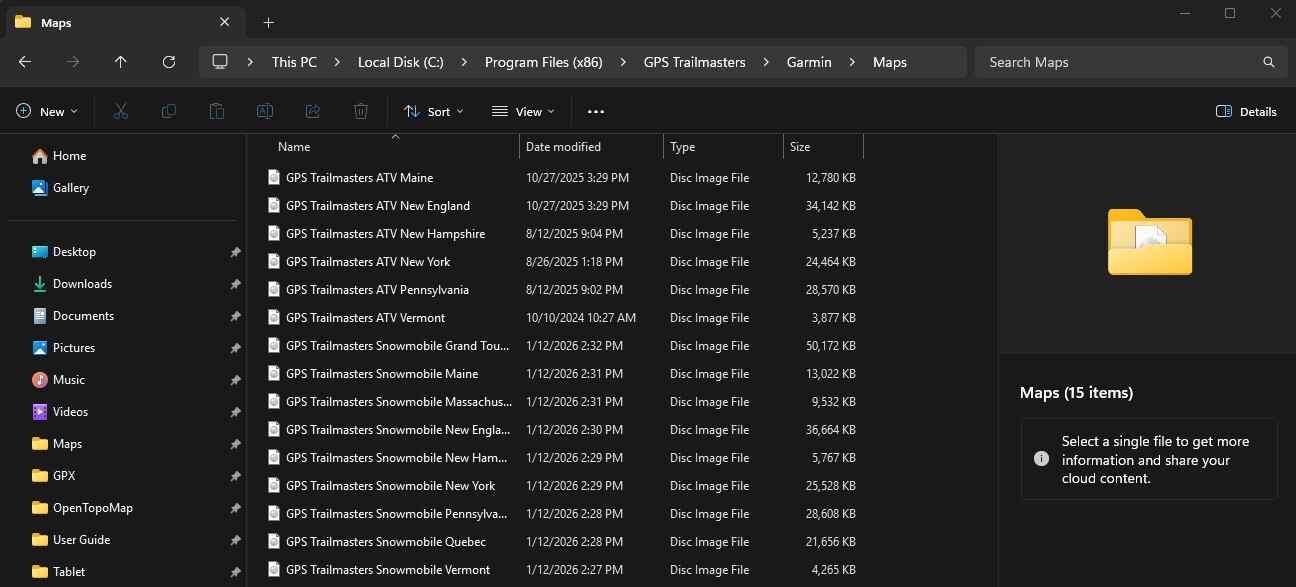
Then, open our X Package from your desktop. Open the Garmin folder, then the Maps folder. Copy the disc image file inside that folder.
- For Tread SXS, Overland: Open the Tread as a device from the column on the left side of the file browser window, it should be listed as a device under This PC. Go into the Internal Garmin Storage. Then, the .System folder, then the Map folder. Paste the file inside this folder. It is important not to delete any of the existing disc image files in this folder, they make up the factory preloaded background maps.
For Tread 2: Open the Tread as a device from the column on the left side of the file browser window, it should be listed as a device under This PC. Go into the Internal Garmin Storage. Then the Map folder. Paste the file inside this folder.
To configure the settings:
First disconnect the device from the computer and restart it.
- For Tread Base Edition: On the device, go to Settings, then Map Display, then myMaps. Enable (check) only “Background map, Trail map” and disable (uncheck) the rest.
- For Tread Overland, SXS, and 2: Either from the home screen, or through your settings, then Map Display/Map Preferences, go to the Map Manager. Click "Manage Device Maps". Then, you may need to click the 3 lines in the top left corner of the screen to click "Installed Maps". Enable (check) only “Background map, Trail map” and disable (uncheck) the rest.
Now, go back to the main screen and click View Map/Current Location. Click the map layers button, which looks like a stack of papers on the right side of the screen. The top section of the Map Layers menu indicates which basemap you have selected. Anytime you change this setting, you need to go back into Map Manager to ensure the map is enabled.
The bottom section of this menu indicates which additional overlays you have enabled. Only topographic, contour lines, travel history, 3D terrain, or unsaved tracks can be enabled, the rest need to be off.
Lastly, in your settings, go to Vehicle Profile. Modify the existing profile by clicking on the wrench icon. Under Road Use, you need to enable Street Legal, Highway Legal, and Off Highway. All 3 options in Road Use should be on. This should not route you down the streets, as they should be disabled in the Map Manager. This will eliminate the device giving you error messages saying you aren't authorized to be where you are.